How GoTreads Work

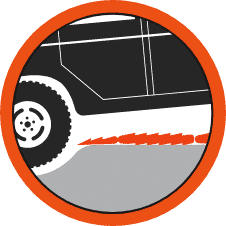
Step 1
Put the vehicle in park and set the emergency brake. With the tool fully unfolded, lay it out in line with the tire that is stuck, so your vehicle can drive over the tool.

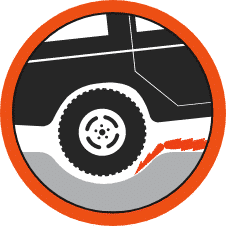
Step 2
The short sections have a smooth surface on the bottom and a gripping surface on the top. With the smooth surface down, this section should be pushed down between the tire and the rut that it is stuck in. For best results, clear the rut as best as possible so it is longer and flatter.

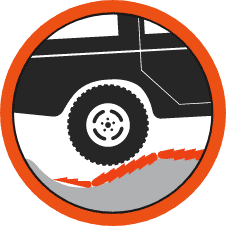
Step 3
Once properly positioned, release the emergency brake and put the vehicle in gear. It is very important to slowly accelerate. This allows the stuck tire to slowly pull the short sections into the rut and roll up on the GoTreads. Once the short section has positioned itself under the tire, the long sections will grip the ground.

Step 4
Now the tire is on a solid gripping surface and it has the traction needed to get your vehicle moving again. As you begin moving forward, slowly accelerate more to gain some speed. Drive out and to a safe place before stopping to go back to retrieve your GoTreads.
In Depth Instructional Video
Check out this video to see how GoTreads work and how they can help your vehicle get unstuck in tough conditions like mud, snow, or sand. Learn the step-by-step process of using GoTreads and equip yourself with the skills to escape from sticky situations with ease.
Demo Video
Below is a demonstration the inventor of GoTreads (Arne Pinto) created over a decade ago. It’s an older video but the use is still the same as it is today. We only needed one GoTread in this demonstration but we typically recommend putting one GoTread under each side of the driving axle for best results.

